

Overview
The Eka API Authentication process ensures secure access to sensitive healthcare data through a robust authentication process. To interact with the APIs, third-party developers must obtain an access token, use it in all API requests, and handle token expiration efficiently. This guide outlines the essential steps to securely integrate with Eka’s API.Key Components
- Client Application: A third-party application that communicates with Eka’s API.
- Eka API Gateway: The server-side component that authenticates and processes API requests.
Setting Up Your Eka Account
This is a one-time setup required before you can start using Eka services.Eka supports multiple sign-up options such as Google, Apple, Email Address, and Username.
In this guide, we’ll use Email Address to walk through the setup steps.
1
Choose Sign Up method of your choice
On the welcome screen, select your preferred sign-up option.
For this guide, we will choose Continue with Email Address.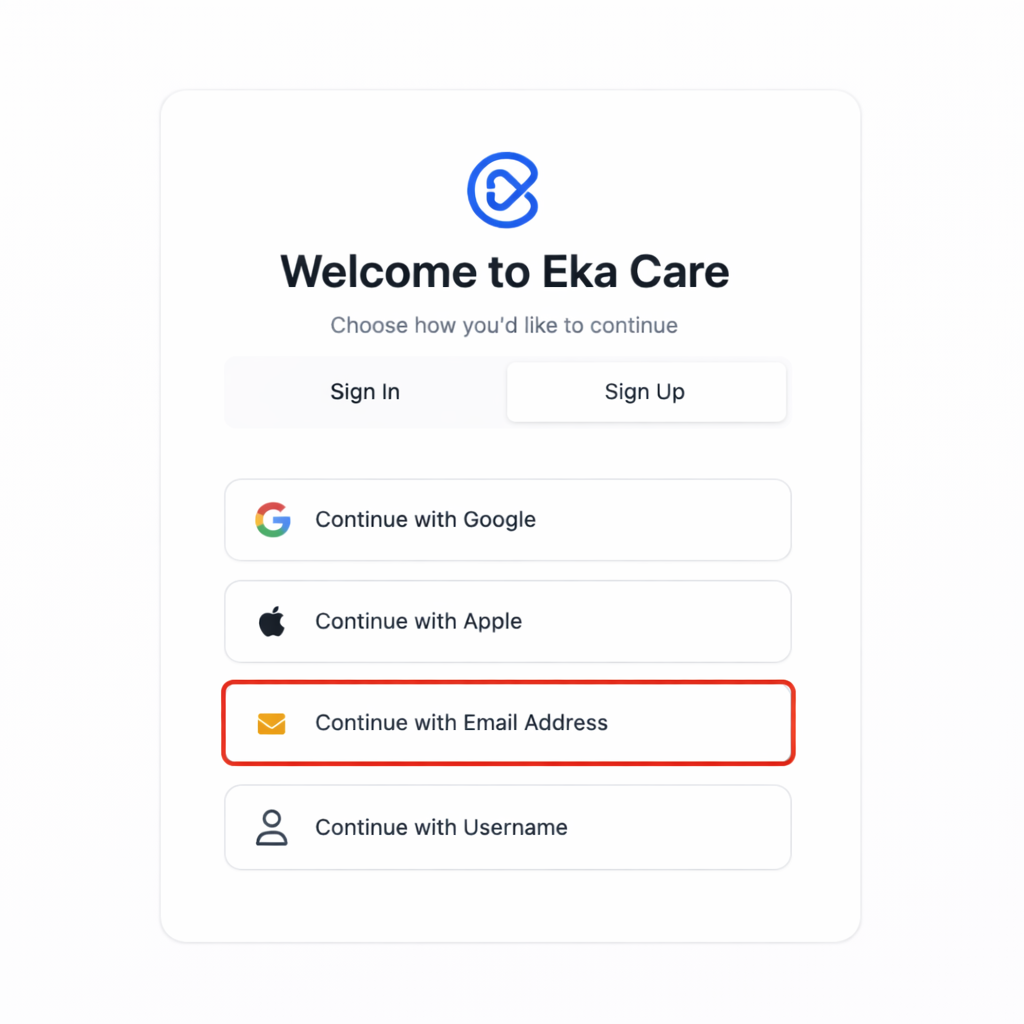
2
Enter your email address
Enter your email address and click Submit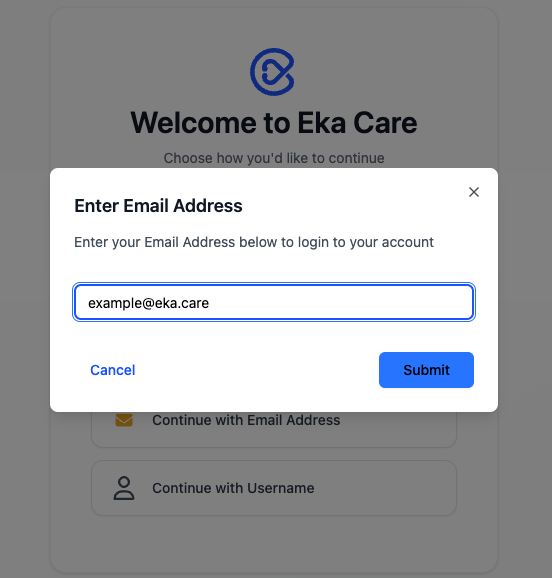
3
Verify Email Using OTP
Enter the one-time password (OTP) sent to your email address and click Confirm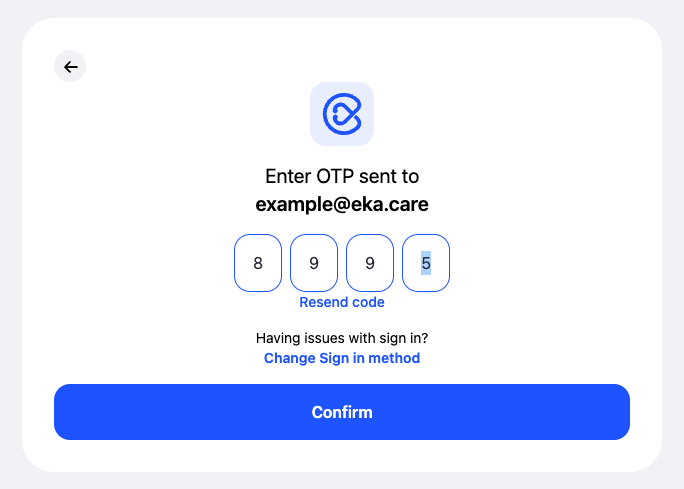
4
Create Workspace
You need to setup your workspace you use Eka. Enter your details and click on Next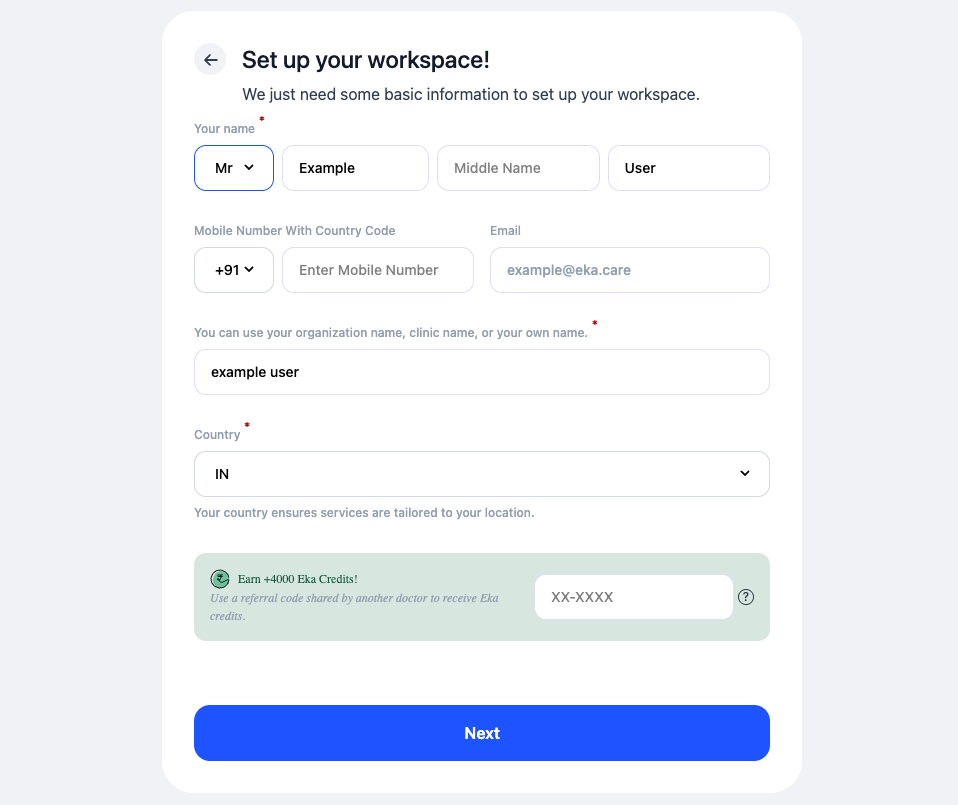
5
Automatic Account Creation and Login
After submitting workspace details: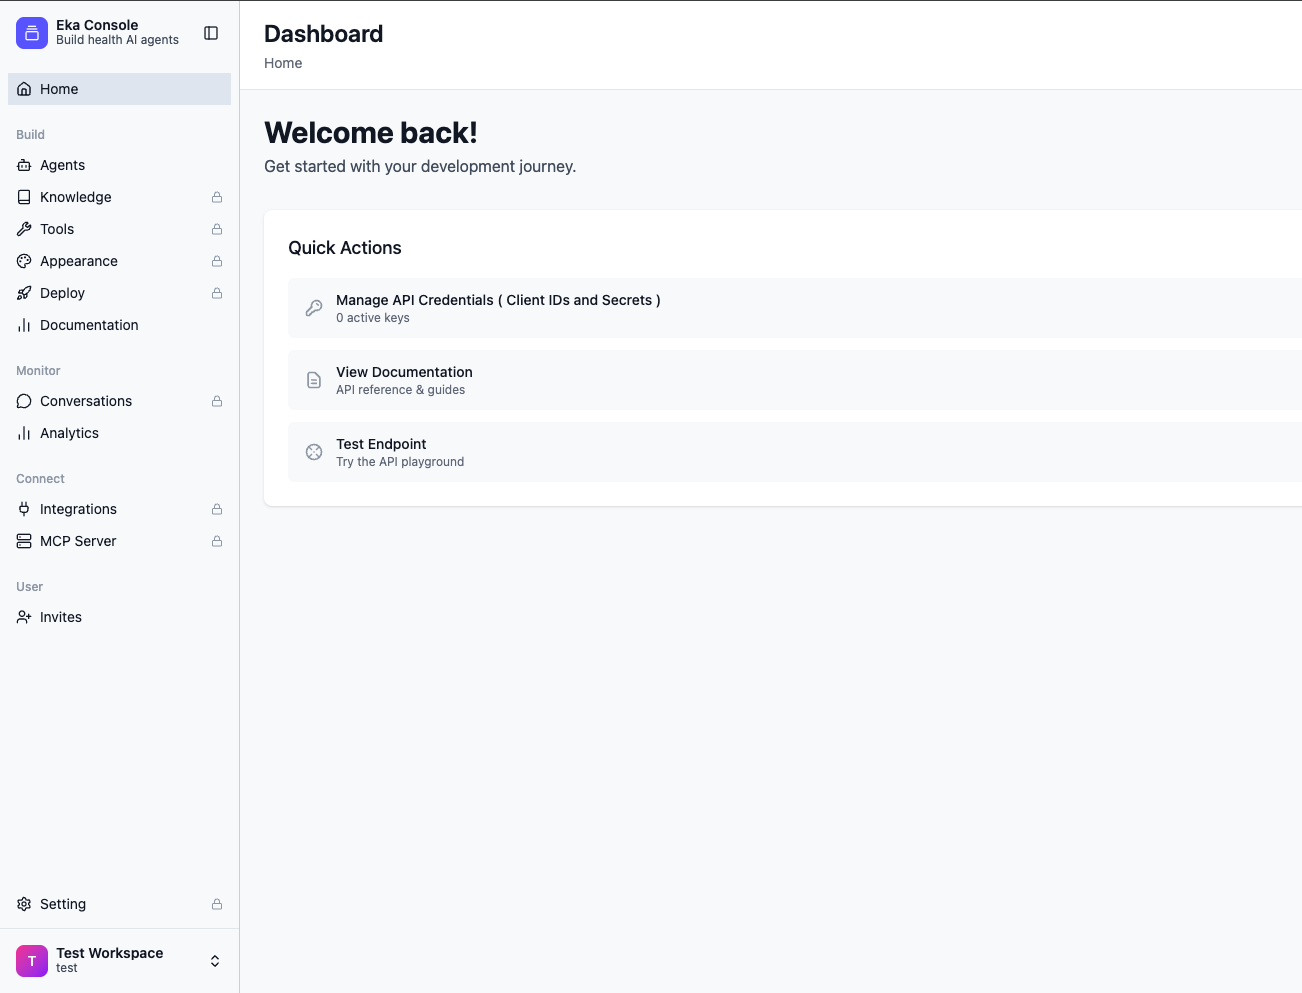
- Your Eka account is created
- You are automatically logged in
- Your workspace is ready to use
Creating API Credentials
Once your Eka account is set up, you can use the Eka Developer Console to create and manage API client credentials. Click here to visit Eka Developer Console.1
Open the Eka Console Dashboard
Once logged in, you’ll land on the Eka Console dashboard.From the Quick Actions section, click
Manage API Credentials (Client IDs and Secrets).
2
Create a New API Client
Enter the required required details and click Create.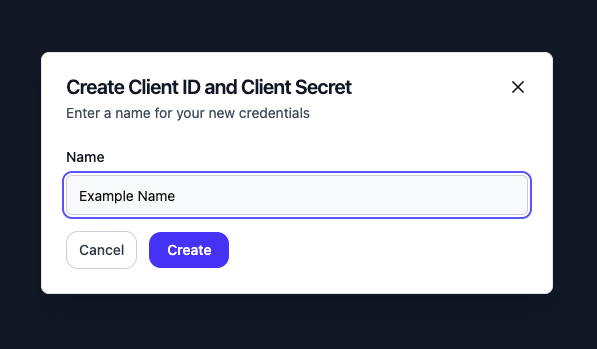
3
Copy Client Credentials
After the client is created, securely copy: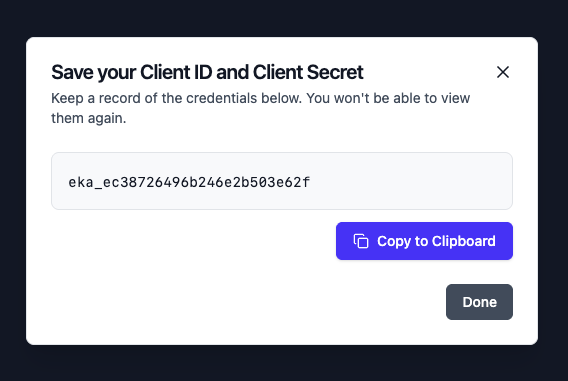
-
client_id -
client_secret
Store the client secret securely. It will not be shown again.
Authenticating with Eka APIs
1
Obtain an Access Token
Authenticate your client using the login API. This will return both an access token and a refresh token, which you will use for subsequent API requests.
2
Using the Access Token
Include the access token in the
auth header of every API request to authenticate and access Eka’s services3
Handle Token Expiration
To ensure continuous access to the API, implement logic to manage token expiration and renewal.
- If an API request returns a
401 Unauthorizedstatus code, it indicates that the access token has expired. - Use the refresh token API to obtain a new access token and re-authenticate.
Accessing Another Workspace Using a Sharing Key
Eka allows access to another workspace using a Sharing Key. Developers who wish to access another workspace must request a Sharing Key from the owner of that workspace. The Sharing Key can be generated from the Hub. Click here to visit Hub.1
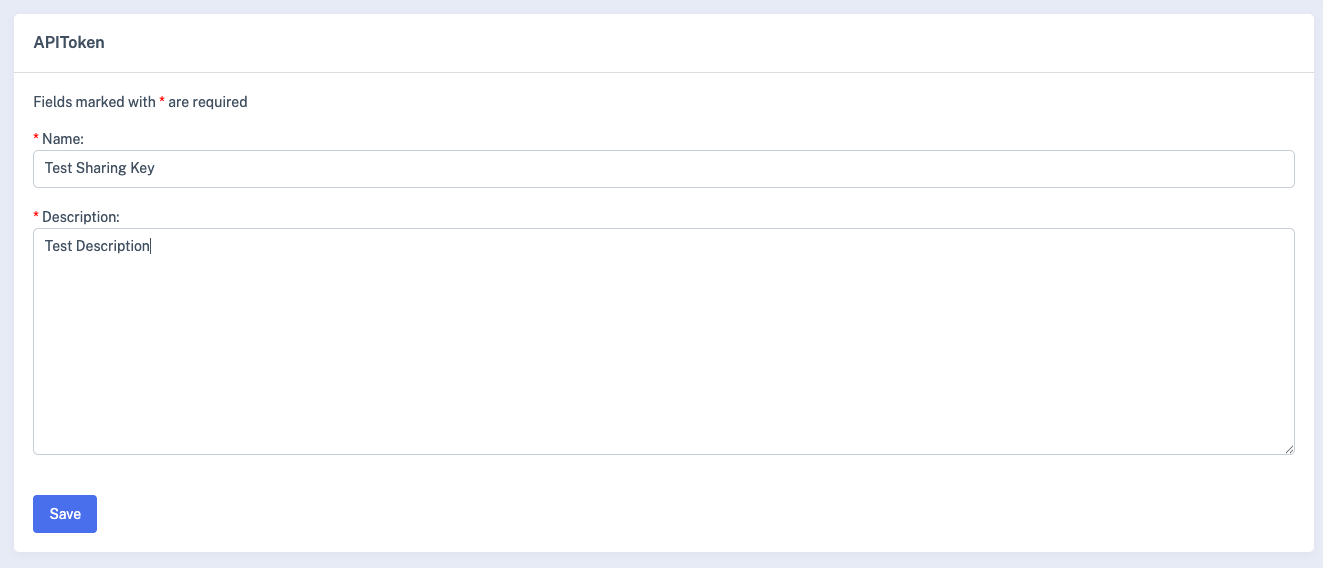
Generate a Sharing Key
Click on API Token to visit page to view and manage sharing keys.
Click on Create and, provide the required information to create sharing key.
2
Provide the Sharing Key During Authentication
After completing this step, continue toAuthenticating with Eka APIsto generate an access token (provide sharing_key in request body) and start making API requests.
Long Lived Access Token
A Long-Lived Access Token is designed for backend-to-backend (server-to-server) communication between trusted systems. Why use a Long-Lived Token?- Simplifies authentication for system-to-system API calls
- Eliminates the need to repeatedly generate short-lived access tokens
- Ideal for long-running services and internal integrations
- You are making backend-to-backend API calls
- You do not want to manage token refresh logic
- The integration is between trusted parties
1
Generate Long Lived Token
Click here to visit Eka Developer Console
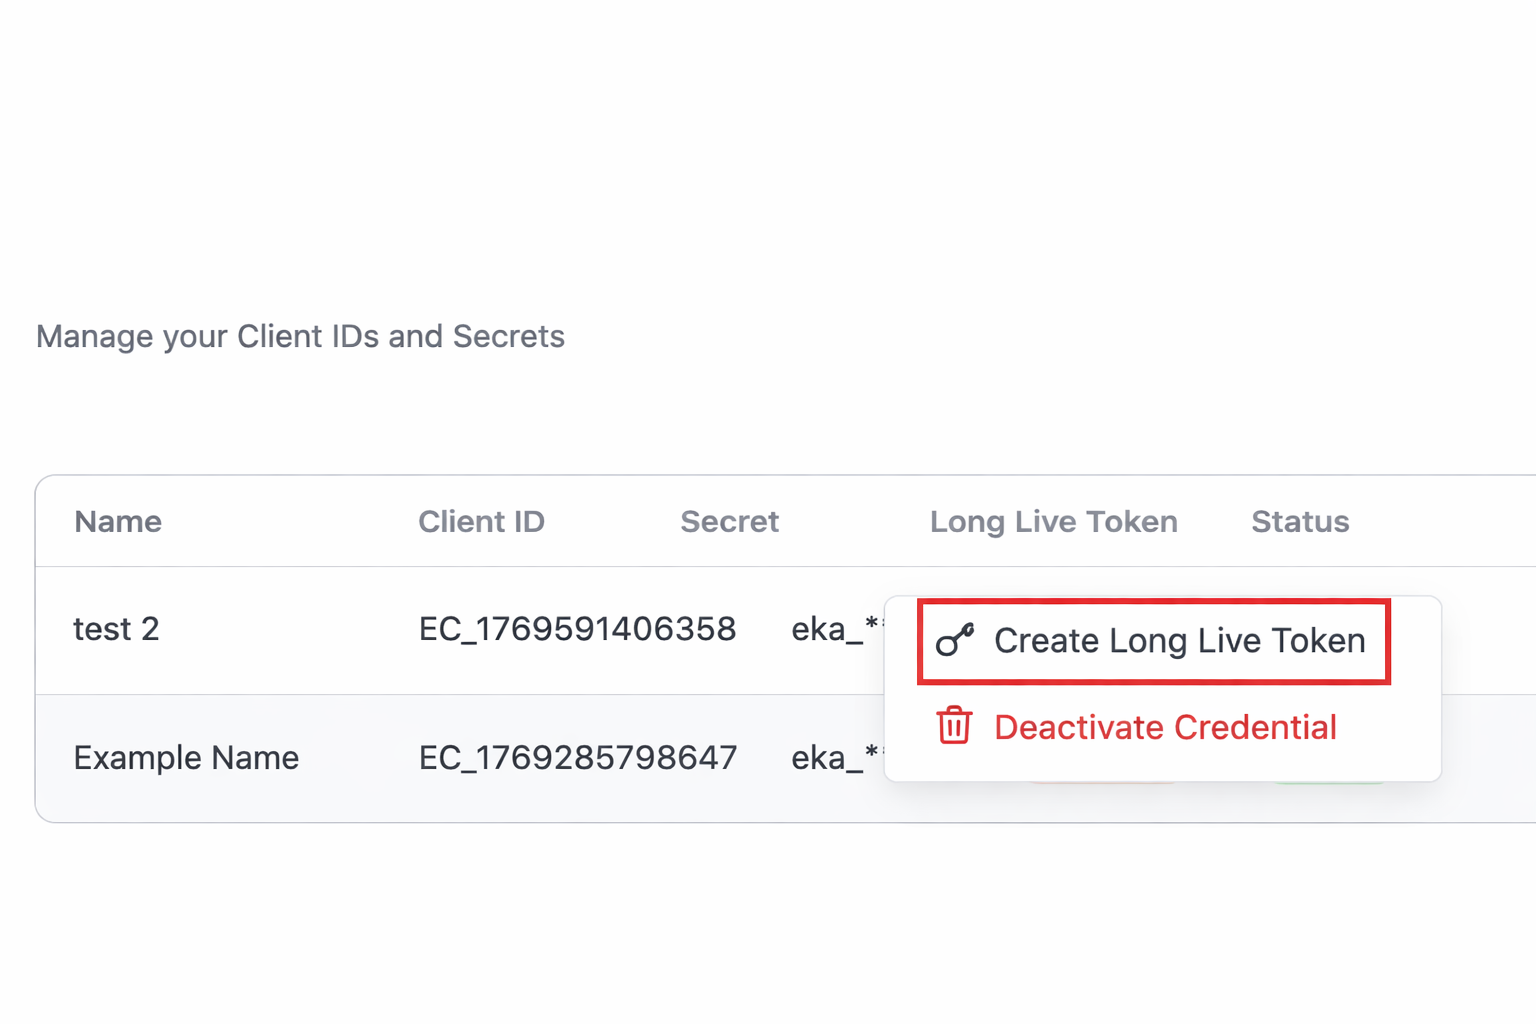
From the Quick Actions section, click Manage API Credentials (Client IDs and Secrets).
Click More options(three dot menu) and click on Create Long Live Token2
Copy Long Live Token
After the token is created, securely copy it.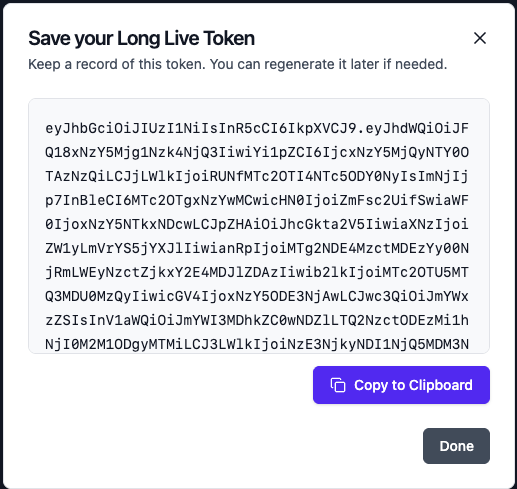
Store the token securely. It will not be shown again.
3
Using Long Lived Token
Include the token in the
Authorization header of every API request to authenticate and access Eka’s servicesBest Practices
- Safeguard your client credentials (client_id and client_secret) at all times.
- Implement a reliable token renewal mechanism to handle token expiration.
- Always include the access token in the
authheader for all API calls. - Manage 401 Unauthorized errors gracefully by automatically refreshing the token.
- Ensure that your application complies with all privacy regulations when handling healthcare data.